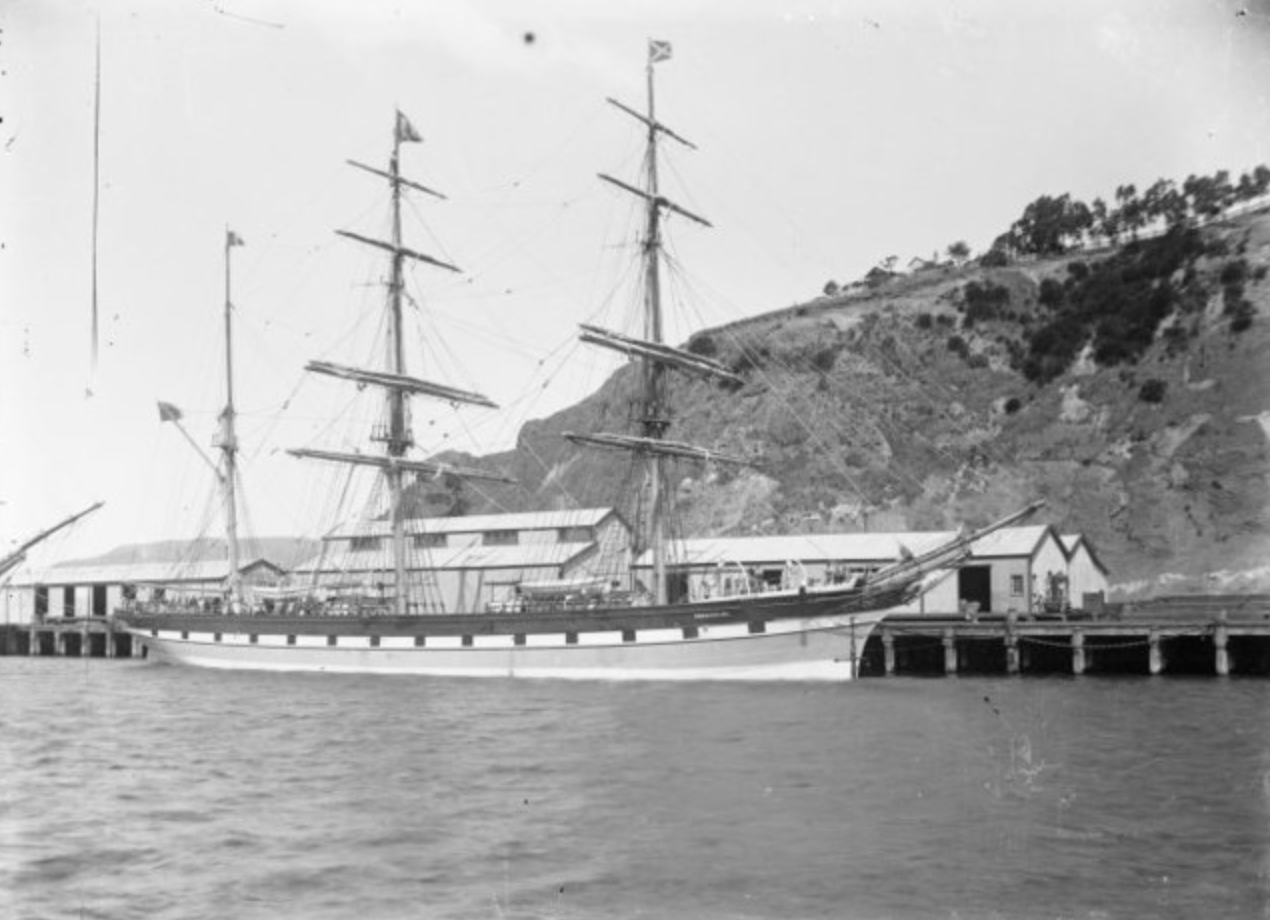
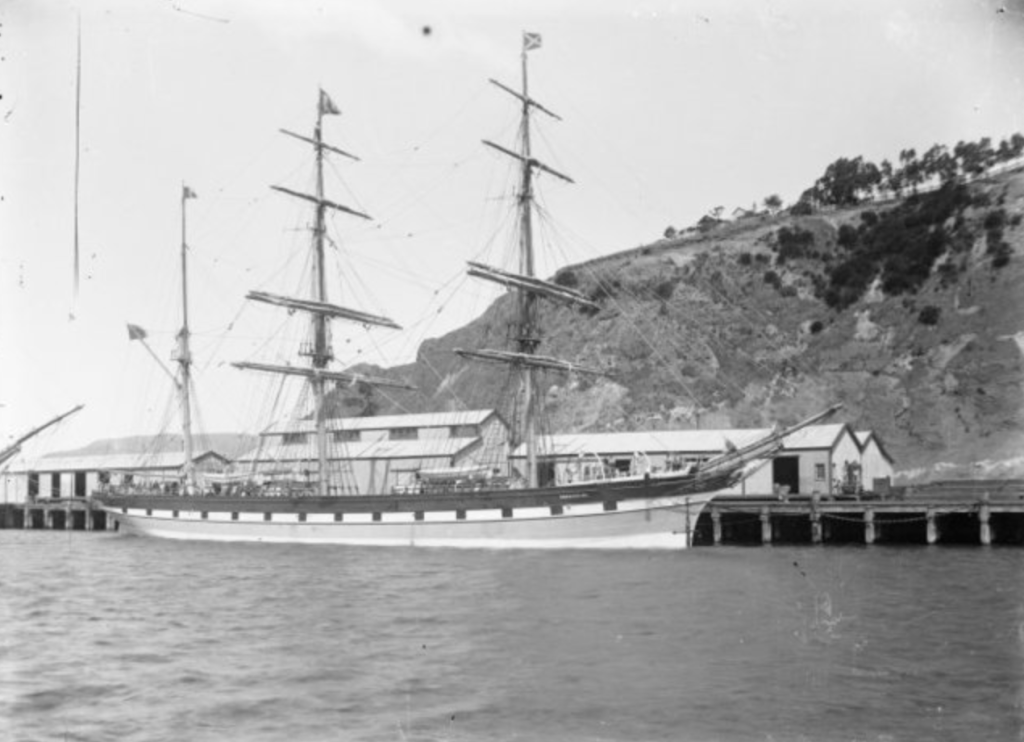
There is some uncertainty about the origin of the Midas. One reference gives the ship as being built on Prince Edward Island in 1847; the other that it was built in Farmingdale, USA, in 1865. Watt traces the registration of a barque called Midas through various ports from 1854, ending in Dunedin in 1870.
The Midas was bought by Charles Clark of Port Chalmers, Dunedin, in 1870.
Under the command of John Cumming, the Midas arrived in Bunbury from Dunedin on 3 February 1872. It had been a long voyage of 98 days. At Bunbury the Midas loaded one hundred 21.3-metre-long jarrah piles and a quantity of sleepers, which was to be used in the construction of a jetty at Dunedin.
After the sinking and breaking up of the Midas, James Dagley Gibbs built a flat-bottomed lighter of about 30 tons from the salvaged kauri deck timber. The lighter was used to take cargo to and from vessels in Koombana Bay.
Description
Barque; sheathed in yellow metal
Construction
Wood; deck was kauri (presumably fitted in New Zealand after Clark bought the barque)
Size
Length: 39.20 m Beam: 9.10 m Draft: 6.10 m Tonnage: 555.00
Built
Duncan of Farmingdale, USA (1865) or Prince Edward Island, Canada (1847)
Owner
Charles Clark, ship chandler of Port Chalmers, New Zealand
Location
A few hundred metres south-east of the bend in the Bunbury jetty
Latitude/Longitude
(-33.316548, 115.644054)
Sinking
On 10 March 1872 a storm hit the Bunbury anchorage; sudden shifts in wind direction were experienced. The crew of the Midas dropped a second anchor, but this proved insufficient to hold the barque. The Midas was blown some 450 m into shallow water and began striking heavily. The rudder and the mainmast at deck level were carried away. The mizzenmast was chopped down to lessen the strain on the barque, but the port side had been bilged and the vessel quickly filled with water. The Midas was later condemned as a wreck. The Court of Inquiry held on 17 March 1872 found “no blame whatsoever attaches to Captain Cumming and the officers of the ship”. The wreck and cargo were sold at auction for £255. The standing rigging and anchors and chains were removed. By March 1874 the wreck had became a hazard to navigation. A tender was called to remove the wreck. It was awarded to WF Stevens who blew the wreck open and salvaged the remaining cargo and much of the iron and copper.
Underwater
A substantial portion of the Midas remained visible for many years until either natural sea bed movement or port developments covered it. A report dated 17 May 1875 stated: “ … nothing remains now but certain parts which stand from 12 to 18 inches above the sandy bottom, though the bottom of the wreck is presumably 6 feet below. About one-third of the starboard side remains and about two-thirds of the port side.”